Shop by Lexmark Printer Family


Shop by Popular Lexmark Printers
Shop by Popular Lexmark Toner
How to connect Lexmark printer to wifi?
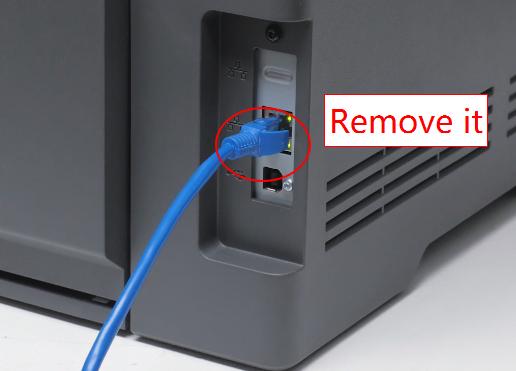
Unplug the network cable
Turn on your Lexmark printer and make sure it is in a ready state. Then unplug the network cable.
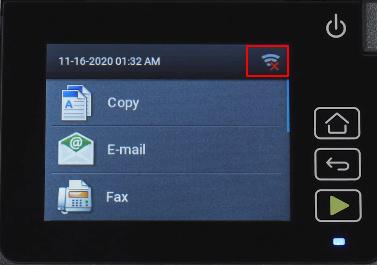
Access the Network Settings
Look for a menu option related to network settings or wireless setup.
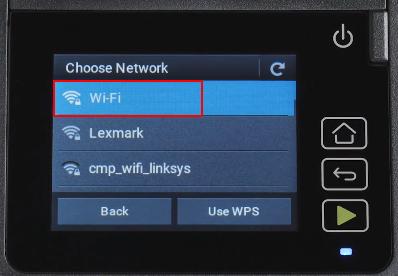
Scan for Available Networks
You'll need the Wi-Fi network name (SSID) and password.
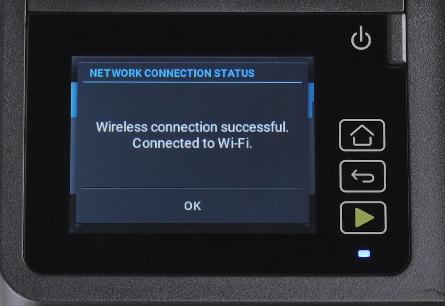
Complete the Setup
How to reset Lexmark printer?
How to clean a Lexmark printer?
1. Use a soft, lint-free cloth lightly dampened with water to clean the exterior of the printer. Avoid using excessive water, and never spray liquids directly onto the printer.
2. Open the printer cover to access the inside components.
3. Remove Toner Cartridges:
If your Lexmark printer uses toner cartridges, carefully remove them according to the printer's manual.
1. Use a lint-free cloth or cotton swab lightly dampened with isopropyl alcohol to clean the inside of the printer. Pay attention to areas with toner residue or ink buildup.
2. Clean the rollers and paper path using a lint-free cloth or cotton swab. If there's visible debris, you can use compressed air to blow away dust and particles.
If a printhead plugged with dried ink. Doing a Short Clean should fix most print quality problems:
1. Press Menu> until the Utilities Menu appears.
2. Press Select.
3. Press Menu> until Clean Printheads appears on the second line of the display.
4. Press Select.
Short Clean appears on the second line of the display.v
5. Press Select.
Once the Short Clean finishes, a test page prints four color bars.
If you do not see an improvement, do a Long Clean. Keep in mind, however, that a Long
Clean uses a substantial amount of ink and takes some time to run.
1. Press Menu> until the Utilities Menu appears.
2. Press Select.
3. Press Menu> until Clean Printheads appears on the second line of the display.
4. Press Select.
5. Press Menu> until Long Clean appears on the second line of the display.
6. Press Select.
7. Once the Long Clean finishes, a test page prints four color bars with a corresponding
number below each color.
A Clean [1]?=Go/Stop message appears on the operator panel display for each
color bar.
8. For each color bar, press the Stop button if the quality is satisfactory or the Go button.
If the quality still not improved.
If you pressed Go for any of the color bars, the printer does another Long Clean. A
Cleaning Printheads message appears on the display. After a few seconds the
printer prints another test page with all four colors.
9. Because a Long Clean uses so much ink, we recommend not doing more than two.
When the Clean [1]?=Go/Stop message appears on the operator panel display,
press the Stop button for each color bar.
10. Press Return to go back to Ready.
If the print quality is still unsatisfactory, try wiping the affected printhead to remove dried ink.
1. Press Menu> until the Utilities Menu appears.
2. Press Select.
3. Press Menu> until Change Printhead appears.
4. Press Select.
5. Open the printer front cover.
The carrier moves to the load position at the center of the printer.
6. Lift the carrier handle to unlatch the printhead from the carrier.
7 Grip the printhead and pull it up and out.
8. Use a clean, lint-free, damp cloth to gently wipe across the copper contact area.
9. To dissolve dried ink, hold the damp cloth against the printhead nozzles for about
three seconds. Gently blot and wipe dry.
10. Allow the copper contact time to dry.
11. Reinsert the printhead.
12. Close the cover.
13. Print your job.
How to connect Lexmark printer to computer? (The most easiest way)
Use a USB cable to connect the printer to your computer. Plug one end into an available USB port on your computer and the other end into the USB port on the printer. Or cooect them in the same Wifi.
Step 2: Install Printer Drivers:
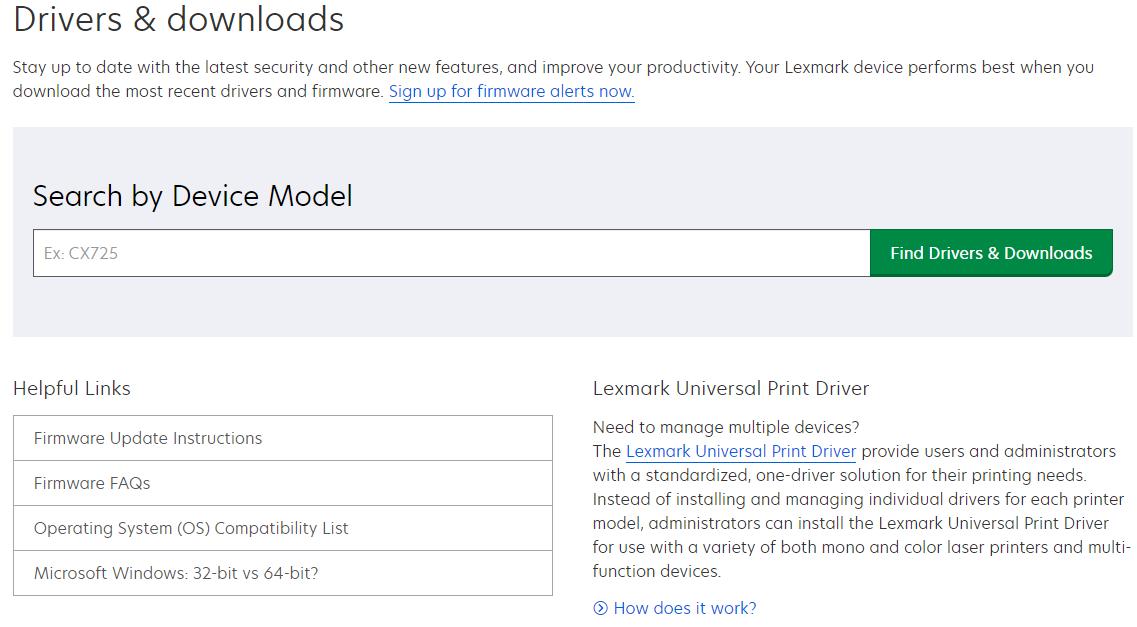
Your computer may automatically detect the new printer and attempt to install the necessary drivers. If not, you may need to install the drivers from the Lexmark website.
Step 3: Add Printer Using IP Address:
Select Add A Printer UsingA TCP/IP Address Or Hostname and click Next inthe Find A Printer By Other Options page. (The lP address is located on the printer display screen.) lf you get a notice that saysthat the destination already exists, click Yes to overwrite and continue.
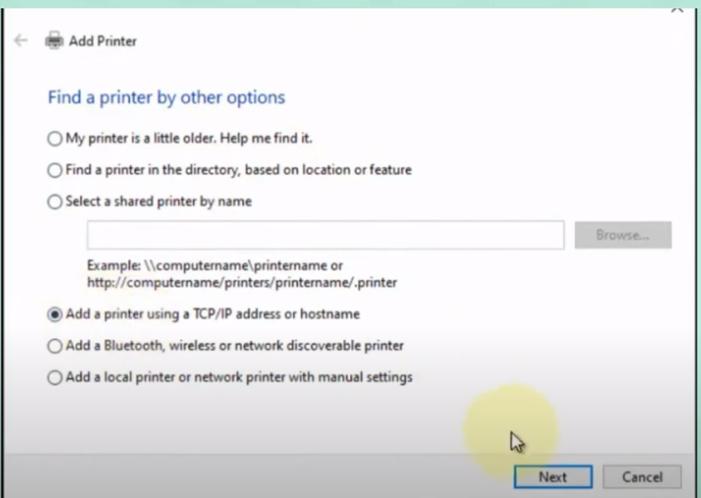
Step 4: Enter the printer's IP address
How to reset Lexmark printer to factory settings without password?
Step 2: Click "Restore Factory Defaults".
Step 3: Click "Out of Service Erase".
Step 4: Click "Erase Momery" Step 5: Click "Yes"
Step 6: Restart the printer and reset the setting.
